OVERVIEW
The following document details the deployment procedure for Elastifile AsyncDR
Goals
Provide general guidance on the Elastifile AsyncDr
Environment Preparation:
In order to deploy Elastifile AsyncDr please use the following procedure
Firewall port 22 must be open between both VPC on each cluster. The Replication agents need to communicate with each other on port 22.
Prerequisites :
- 2 X ECFS Systems
- 2 X EMS external Ip's (Src - DST )

Instructions
Once you have Active Elastifile System, Please the following steps to Enable RA on both Source and Destination systems:
1. Install and Configure Replication Agent (A.K.A RA)
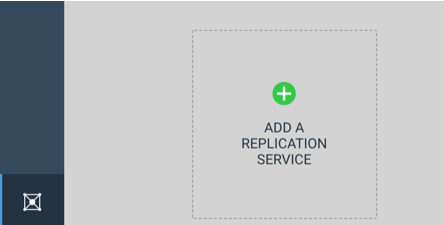
- Navigate to SystemView and add Replication Service :
- Please check the HA
Note: External IP s used for connecting to remote site over VPN. Check only if needed.
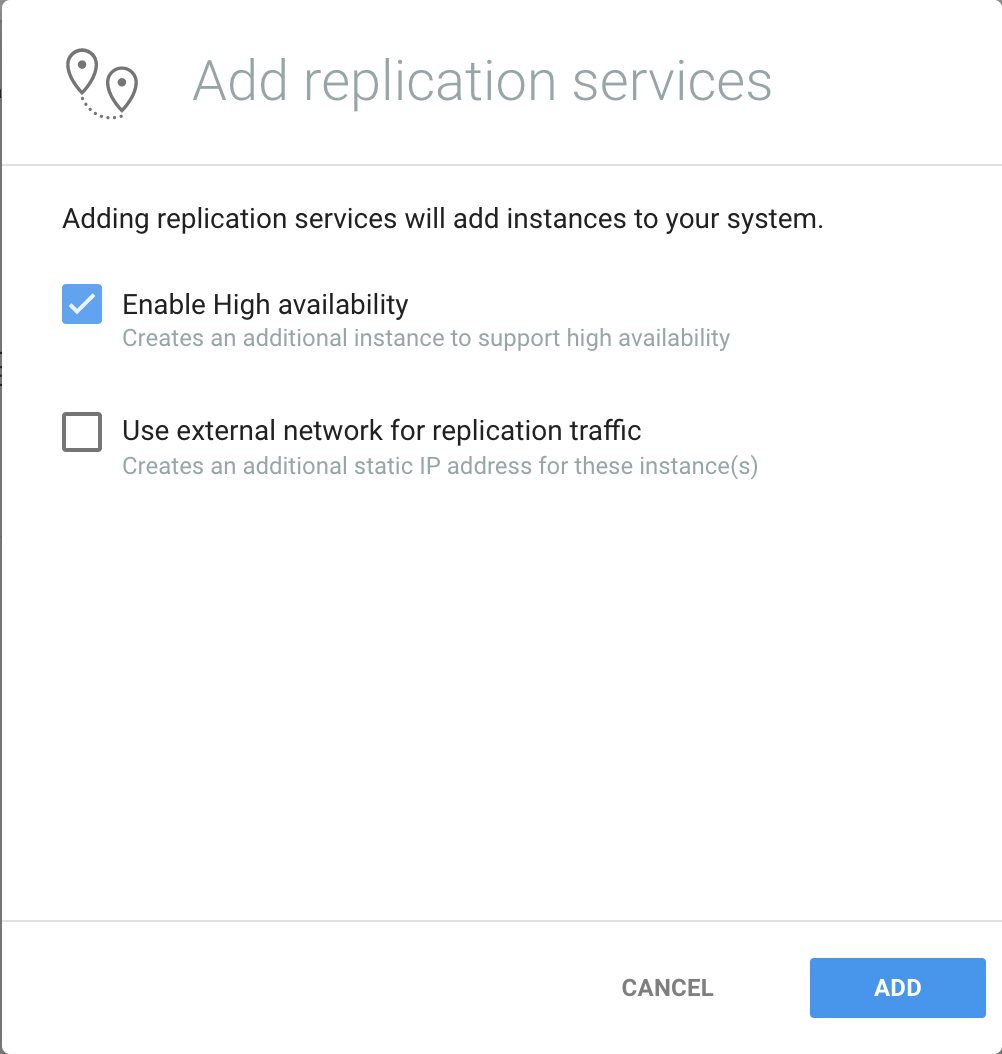
- Wait for RA creation completion both source and target
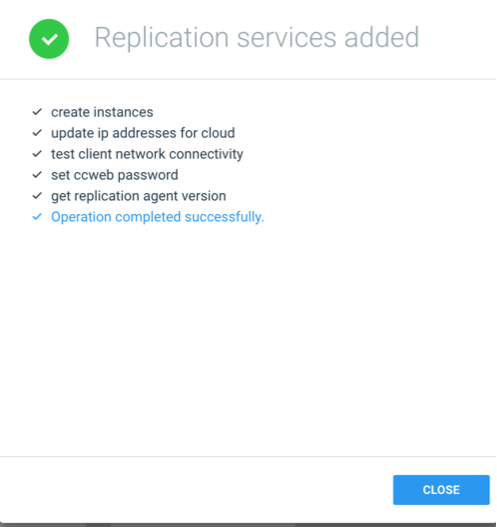
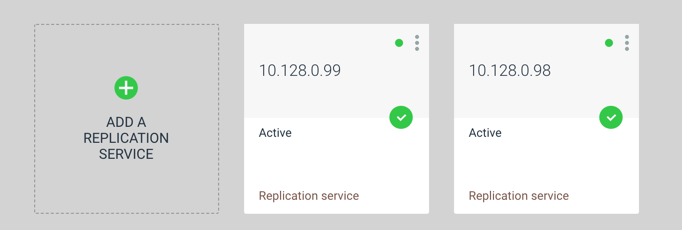
- Once RA installed on Both systems, please Pair the Source & Remote sites:
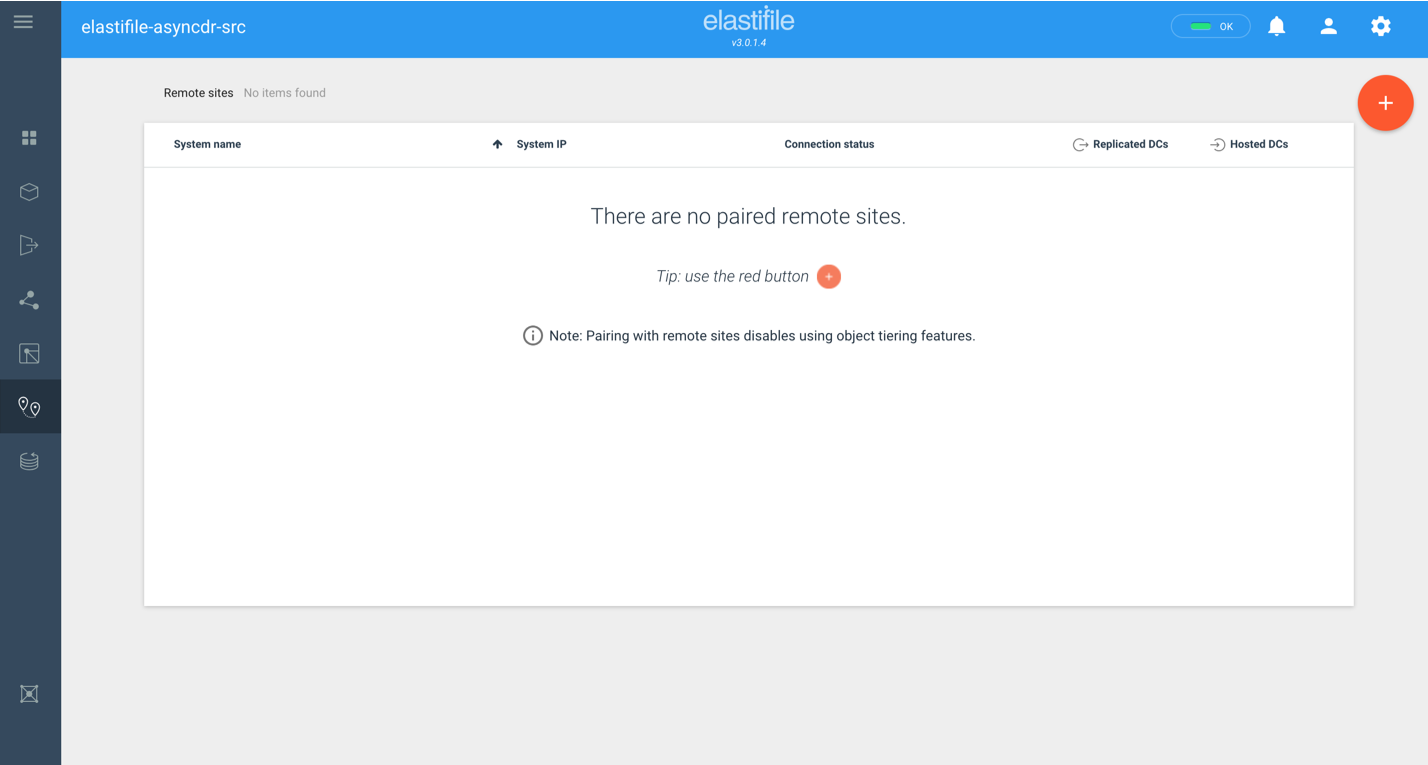

-
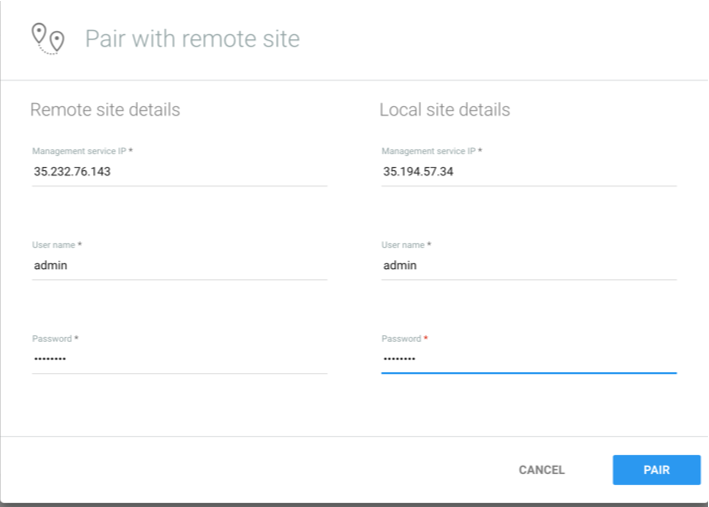
Pair with remote site, Please use the EMS Username & Password.
Please validate that you enter the relevant IP (Remote & Local)
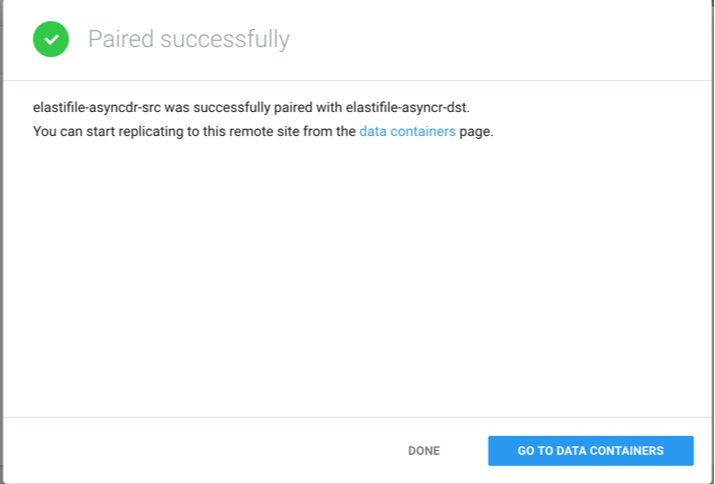
2. Elastifile Data Container (DC) Replication using AsyncDR
- Navigate to Data Container page
- Choose the DC that you want to replicate
- Choose Replicate
- Config the replication :

- Select the Remote site
- Config the RPO
- Select the snapshot retention
- Select the ACL replication settings
- Press Connect and wait for completion.
- Press Close.
- Check Status :

- Check that initial sync started and the amount of snapshot created :

-
Please Check that Data container created on the Destination Elastifile system
-
Please wait for Initial sync to complete and that snapshot created according to the retention that configured in step 2.7
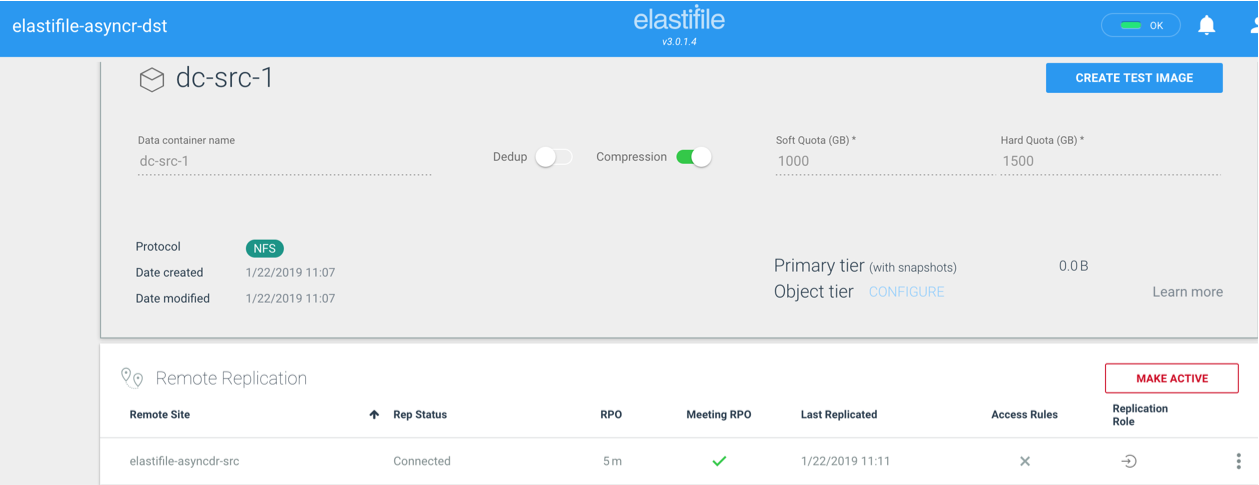
3. Replication Validation
In order to validate that the data replicated please use the following procedure
- On the remote site, navigate to the relevant Data Container (The replicated Data Container - Should have the same name as Source Data Container)
- choose one of the snapshots and create Share :

- Modify the relevant settings

- Copy the share path
- mount the new share on Linux machine

-
Check the relevant data exist ( That is a Read Only Copy)
4. AsyncDr FailOver to remote Site
** Failover should be consider carefully since we are making the Destination (DR) as an Active Data Container
- Navigate to remote site EMS
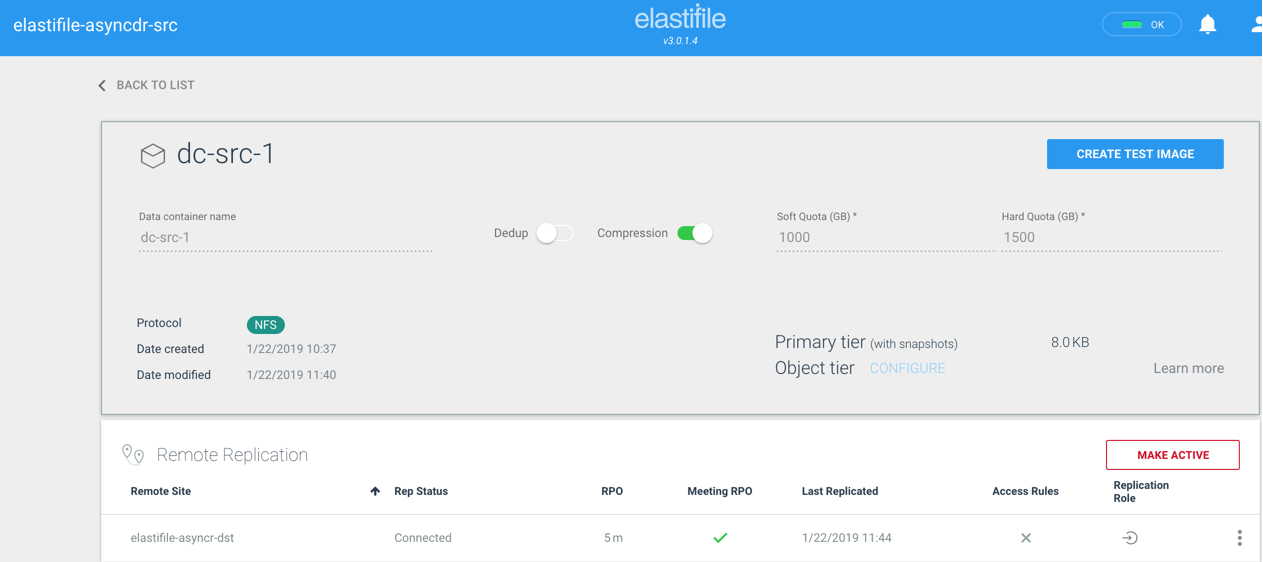
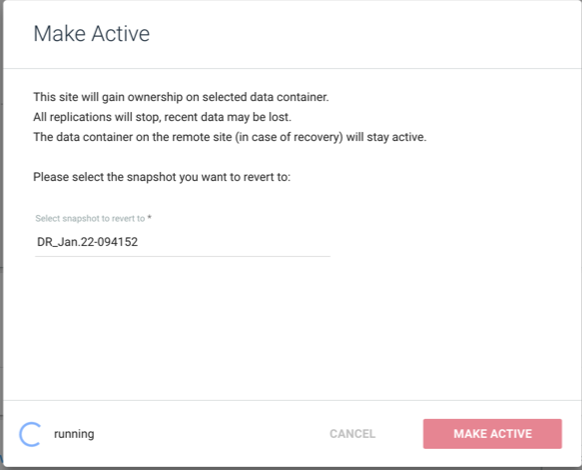
- Choose the Relevant DC that you want to make as an Active Filesystem, Check the make active
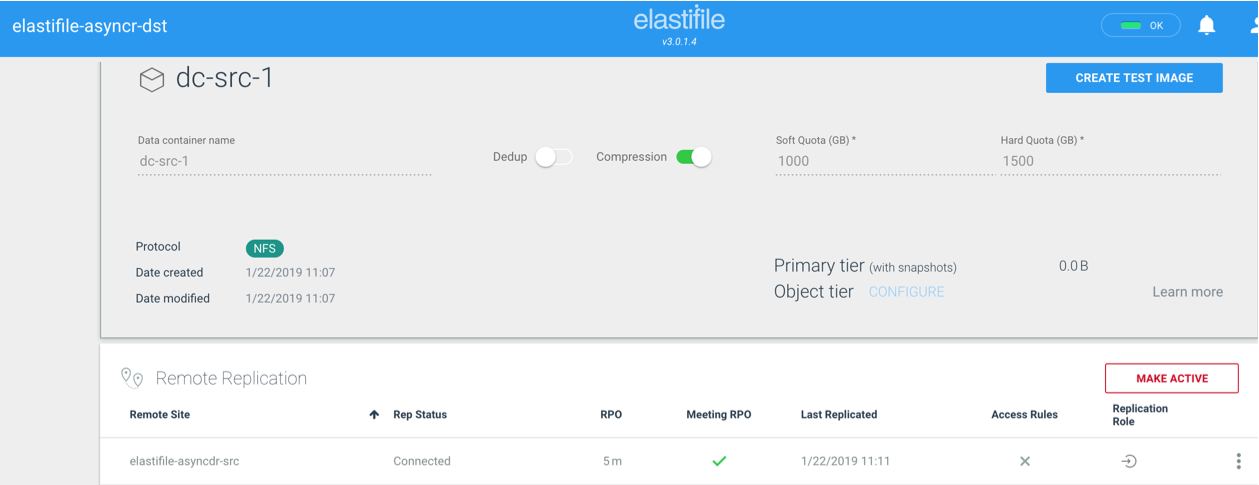
- Choose the relevant snapshot to revert from :
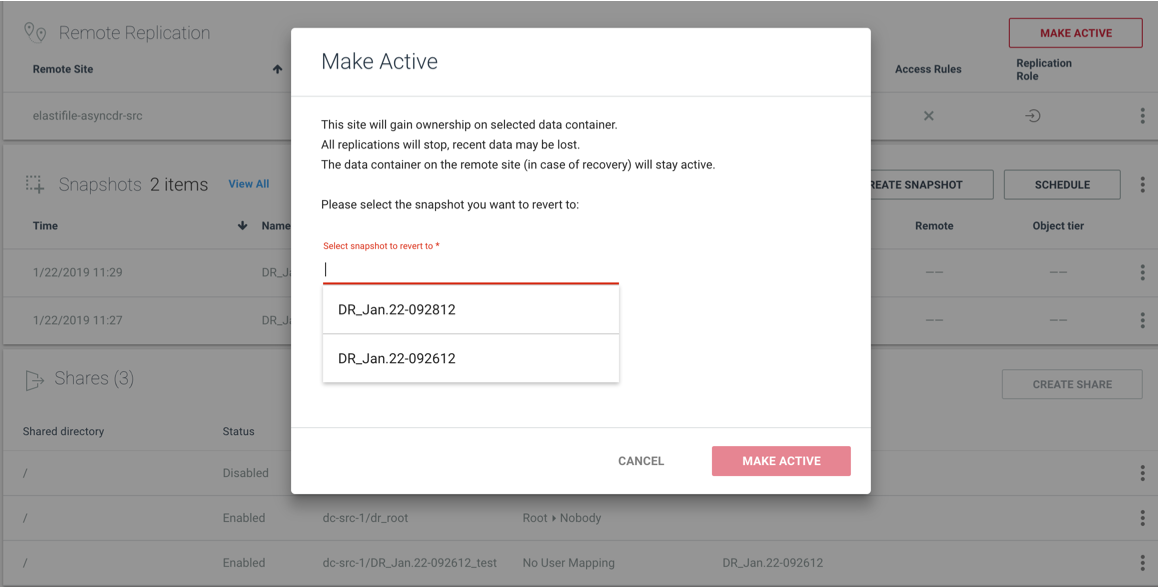
- Navigate to the Source and make the Chosen Dc as Passive
- Create An export
- mount the Data Container on the destination site and continue to work
*** Now the Remote site is Active and you can replicate the data to the Production site
5. AsyncDr FailBack to Production Site
There can be two options to fail back to the production site:
Scenario 1 - New Production Site
- Deploy new cluster in the new production site.
- Delete all previous asyncDR pairings.
- Pair a new AsyncDR configuration between the DR site to the new production site.
- Sync back the data between the DR site to the new production site.
- unmount the DC from the DR site.
- Make the production active, this will trigger the final sync.
- Choose the production DC and make sure it's active.
- Navigate to DR site and make sure that the DC as passive
- Check that Replication started and new snapshot created on both Production an DR systems
Scenario 2 - FailBack to the existing production site
- Bring up the crashed production cluster.
- Make the DC passive.
- Sync back from the DR site to the production site.
- Unmount the DC from the DR site.
- Make the production active, this will trigger the final sync.
- Choose the production DC and make sure it's active.
- Navigate to DR site and make sure that the DC as passive
- Check that Replication started and new snapshot created on both Production an DR systems
